backdrop
studio backdrop
Digital Backdrop
Digital Anarchy Backdrop Designer Full v1.0
Nathnam Here's how to create a simple muslin-like digital photography backdrop using either Adobe Photoshop or Adobe Photoshop Elements:
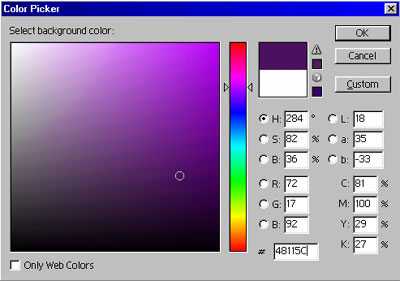
First, let's choose a dark background color. Open Adobe Photoshop. Click the background square (the bottom white one) located at the bottom of the toolbar.
The color picker window appears. Choose a purple shade by clicking on the purple area on the upper part of the color slider (the narrow vertical rectangle containing the different color spectrum).
Then choose a darker shade by clicking mid bottom in the color field. See the circular marker?
Click OK when you're satisfied with your choice.
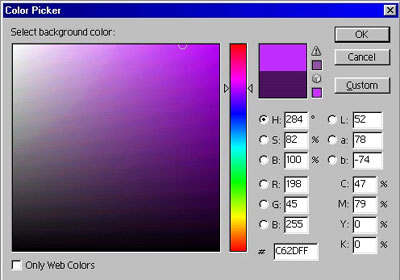
Next, choose the foreground color. Click the foreground square (the black one above the background square) at the toolbar.The color picker is launched. Choose a lighter version of your background color. Then click OK.
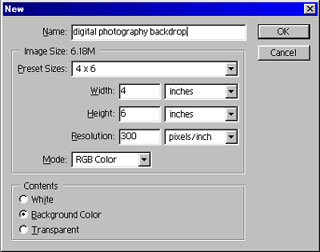
Create a new backdrop by selecting the File menu, then click New. Set the picture dimensions and resolution. You might want to choose from the drop down Preset sizes.If you plan to print the backdrop, set the resolution to 300 dpi. Just want to view it onscreen? Then 72 dpi will do.
Click OK.
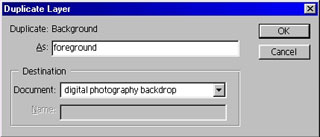
You're back to the main screen. Duplicate the background layer by selecting the Layer menu, then choose Duplicate Layer.Let's name the new layer as foreground.
After you click OK, you should see the new layer in the Layers palette.
After that, click the paint bucket tool. Then click anywhere in the foreground layer. The color should be changed to the foreground color you selected earlier. In this case, to light purple.
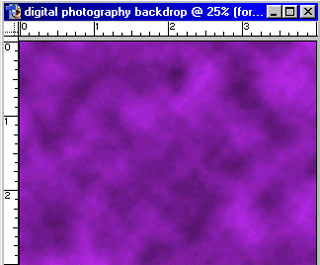
Here comes the fun part. Select Filter -> Render -> Clouds.
You now have your very own digital photography backdrop.Wait! We're not through yet. Let's add some lighting effects.
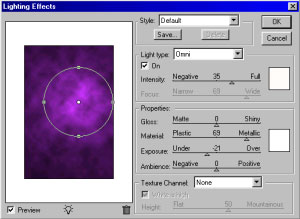
To add a hot spot or a bright circular area near the center, click on Filter ->Render -> Lighting Effects.
Choose Omni as your Light Type. Drag the Intensity slider to 35, the Exposureto –21, and the Ambience to 0. Note: You can input the values you want. Just check the preview if the changes are to your liking.
Then move the circle a little above the center to where a person's head typically appears.
Then click OK.
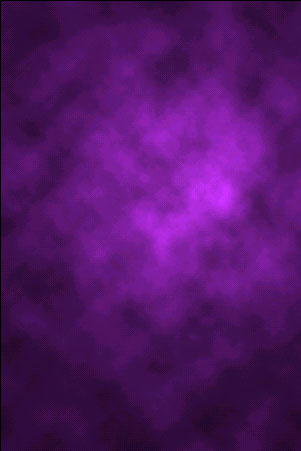
Here's the finished digital photography backdrop.
You can print your digital photography backdrop for offline use. If that is the case, you will need to create a bigger image.
Depending on how large your digital backdrop is, you might not be able to print the whole thing using a home printer. But you can print the parts separately, and just paste the edges together afterwards.


 ඔයාගෙ Assignment හෝ Thesis එක හරියට හදාගමු
 Peppa Pig Family Plush Toy Set – 5 Characters