


Zeslecp Web Hosting Control Panel එක Install කරන හැටි තමයි කියලා දෙන්න හදන්නේ
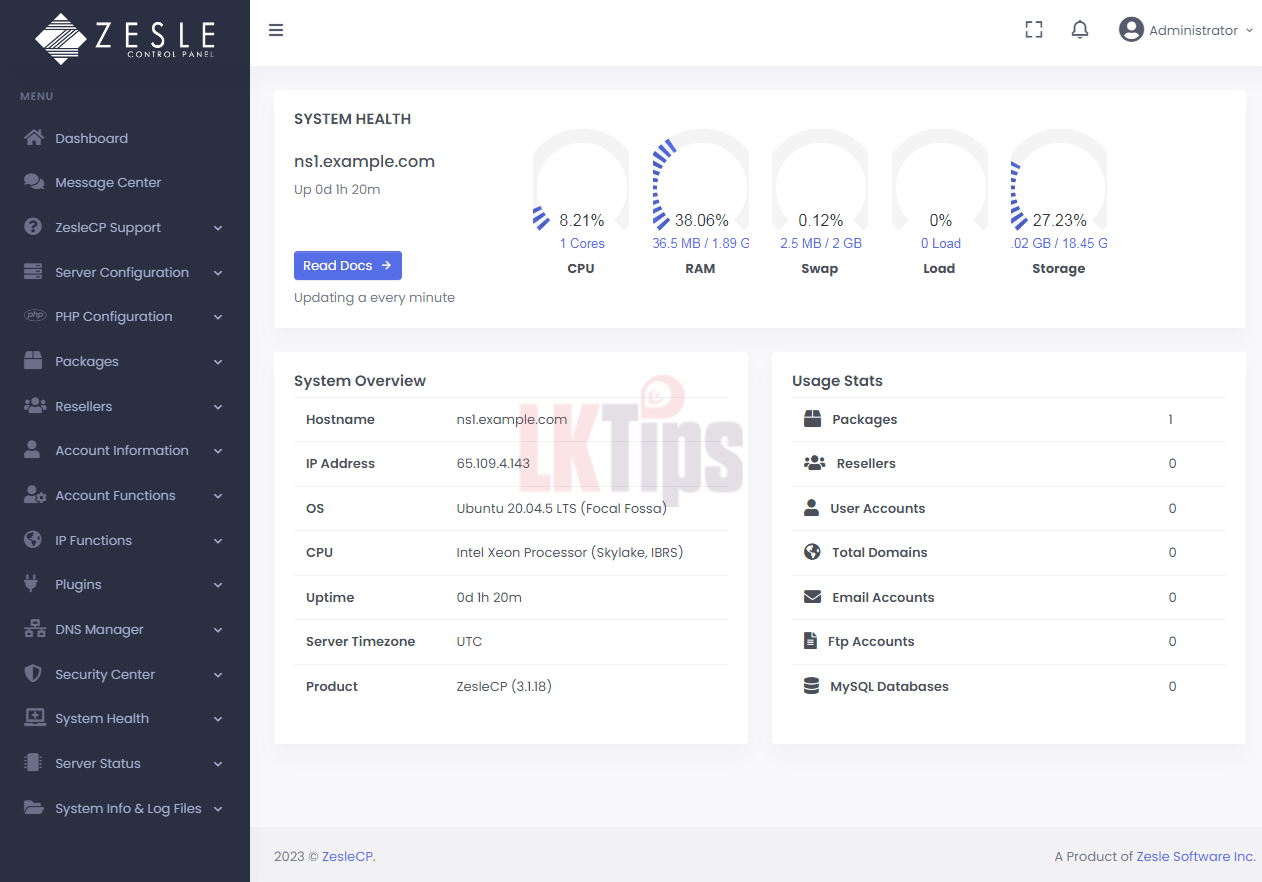
System Requirements
– Ubuntu 20.04, CentOS 7.x, Rocky Linux 8.x and AlmaLinux 8.x
– Minimum 2 GB RAM
– 10+ GB hard-drive recommended
– 1Ghz CPU
– root SSH access to your server
Install Zeslecp
මුලින් ම VPS එකට Ubuntu 20.04, CentOS 7.x, Rocky Linux 8.x and AlmaLinux 8.x වලින් කැමති සංස්කරණයක් ස්ථාපනය කරගන්න.
ඉන්පසු, SSH හරහා root user භාවිතා කර ඔබේ VPS එකට සම්බන්ධ වන්න.
මුලින්ම, ඔබේ server එක අලුත්ම updates එකකින් යාවත්කාලීන කරගන්න.
Zeslecp ස්ථාපන script එක බාගත කර ස්ථාපනය කිරීම සඳහා පහත command එක Terminal එකේ ඇතුළත් කරන්න
Zeslecp Panel එක Install වීමෙන් පසු, පහත රූපයේ දැක්වෙන පරිදි Username/Password දිස්වනු ඇත
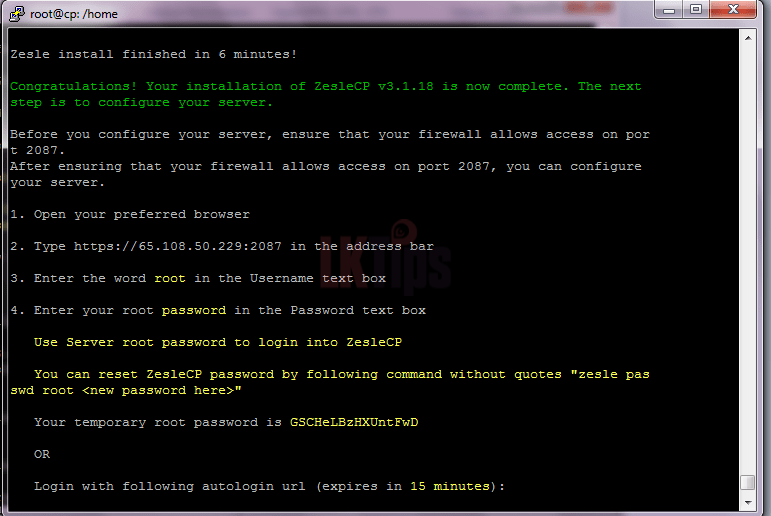
Zeslecp Panel එකට ලොග් වෙන්න https://IP:2087 යන්න. Zeslecp Panel, Username – root කියලා දෙන්න Password එකට ඔබේ root Password එක හෝ temporary root password එක දෙන්න.
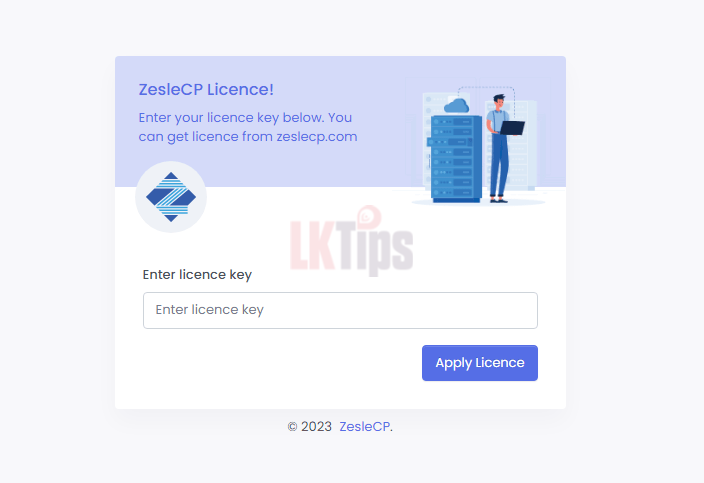
Panel එකට ලොග් වෙනකොට පහත රූපයේ දැක්වෙන පරිදි දැන් ඔබෙන් License Key එකක් ඉල්ලා සිටිනු ඇත
Free හෝ Paid License Key එකක් ලබා ගන්න zeslecp වෙබ් අඩවියෙන් https://zeslecp.com/register
මගේ බ්ලොග් පොස්ට් එකේ Zeslecp ගැන වැඩි දුර තොරතුරු තියෙනවා. https://lktips.com/2025/01/21/how-to-install-zeslecp-web-hosting-control-panel/
මචන්ලා මේ Panel එකේ මොනවා හරි අවුලක් අවොත් Zeslecp එකට Support ticket එකක් දාලා කරගන්න පුළුවන් Paid Panel වල වගේ එයාලම හදලා දෙනවා කිසිම මුදලක් අය නොකට, එක තමයි අනිත් Free Panel එක්ක බලනකොට මේකේ තියෙන විශේෂත්වය.
මේ වගේ තව Panel කිහිපයක් මට හම්බුණා ඒවා ගැන පොස්ට් හෙට අනිද්දා ම දානවා මගේ බ්ලොග් එකේ
System Requirements
– Ubuntu 20.04, CentOS 7.x, Rocky Linux 8.x and AlmaLinux 8.x
– Minimum 2 GB RAM
– 10+ GB hard-drive recommended
– 1Ghz CPU
– root SSH access to your server
Install Zeslecp
මුලින් ම VPS එකට Ubuntu 20.04, CentOS 7.x, Rocky Linux 8.x and AlmaLinux 8.x වලින් කැමති සංස්කරණයක් ස්ථාපනය කරගන්න.
ඉන්පසු, SSH හරහා root user භාවිතා කර ඔබේ VPS එකට සම්බන්ධ වන්න.
මුලින්ම, ඔබේ server එක අලුත්ම updates එකකින් යාවත්කාලීන කරගන්න.
sudo apt update && sudo apt upgrade -y Ubuntu / Debian
sudo yum update -y CentOS / AlmaLinux
Zeslecp ස්ථාපන script එක බාගත කර ස්ථාපනය කිරීම සඳහා පහත command එක Terminal එකේ ඇතුළත් කරන්න
cd /home && sudo curl -o latest -L http://release.zeslecp.com/latest && sudo bash latest
Zeslecp Panel එක Install වීමෙන් පසු, පහත රූපයේ දැක්වෙන පරිදි Username/Password දිස්වනු ඇත
Zeslecp Panel එකට ලොග් වෙන්න https://IP:2087 යන්න. Zeslecp Panel, Username – root කියලා දෙන්න Password එකට ඔබේ root Password එක හෝ temporary root password එක දෙන්න.
Panel එකට ලොග් වෙනකොට පහත රූපයේ දැක්වෙන පරිදි දැන් ඔබෙන් License Key එකක් ඉල්ලා සිටිනු ඇත
Free හෝ Paid License Key එකක් ලබා ගන්න zeslecp වෙබ් අඩවියෙන් https://zeslecp.com/register
මගේ බ්ලොග් පොස්ට් එකේ Zeslecp ගැන වැඩි දුර තොරතුරු තියෙනවා. https://lktips.com/2025/01/21/how-to-install-zeslecp-web-hosting-control-panel/
මචන්ලා මේ Panel එකේ මොනවා හරි අවුලක් අවොත් Zeslecp එකට Support ticket එකක් දාලා කරගන්න පුළුවන් Paid Panel වල වගේ එයාලම හදලා දෙනවා කිසිම මුදලක් අය නොකට, එක තමයි අනිත් Free Panel එක්ක බලනකොට මේකේ තියෙන විශේෂත්වය.
මේ වගේ තව Panel කිහිපයක් මට හම්බුණා ඒවා ගැන පොස්ට් හෙට අනිද්දා ම දානවා මගේ බ්ලොග් එකේ


