Kaboom! Exploding Text
Step 1
Create new document (Ctrl+N), any size (I used 900x600), then fill up the layer with #000000. Name this layer “Background”. Create new layer (Ctrl+Shift+N) and fill it with #090e12. Name the layer “Bg Light” and add a layer mask to it. With the mask selected, grab the Gradient (G) tool, set it to Radial Gradient, press D to reset the foreground and background colors to default and drag the Gradient tool from the center of the document towards the edge to get a circular light effect.

Step 2
Time to create some fog/smoke. Create a new empty layer, name it “Smoke”. Make sure you’ve got the default colors on (press D), go to Filter › Render › Clouds. Set the blending mode to Soft Light.

Step 3
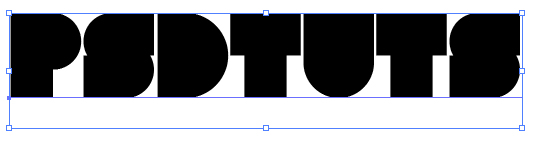
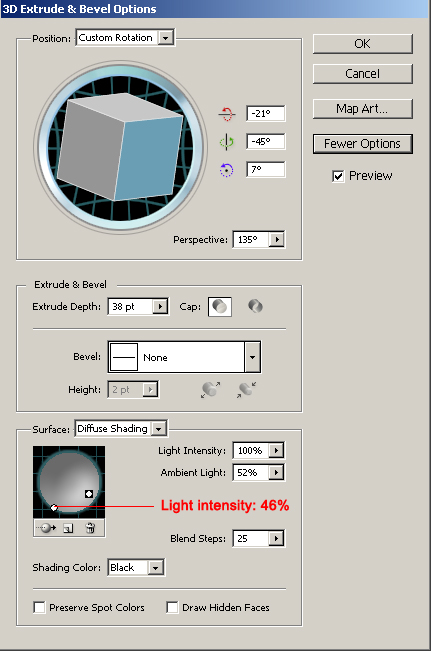
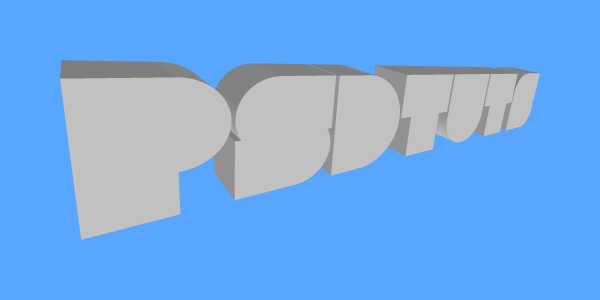
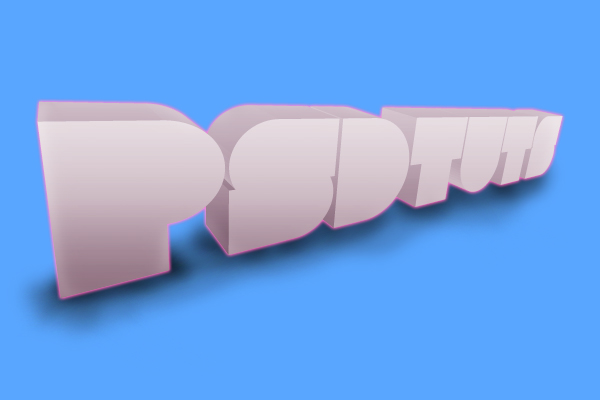
Time to insert our 3DS Max rendered text. Unfortunately how to achieve the text effects in 3DS Max is not the object of this tutorial, so you must know your way around it before you actually start this tutorial. Basic directions would be to create the text letter by letter, arranging each one in a different position as if they’d be blown away. Give it a Bevel modifier, set up the lighting and an optional camera for rendering angles. Set up the materials so that the text reflects the environment to give it that cool shiny effect. Render it at 1600×1200 or more so that it will be easier to cut out the background in Photoshop without any weird edges.
Anyway, we’ll be creating everything else in relation to this text so after you cut out the background, paste it in your document and adjust its size accordingly. Let’s name this layer “Kaboom” and set its Blending Mode to Luminosity for later on.

Step 4
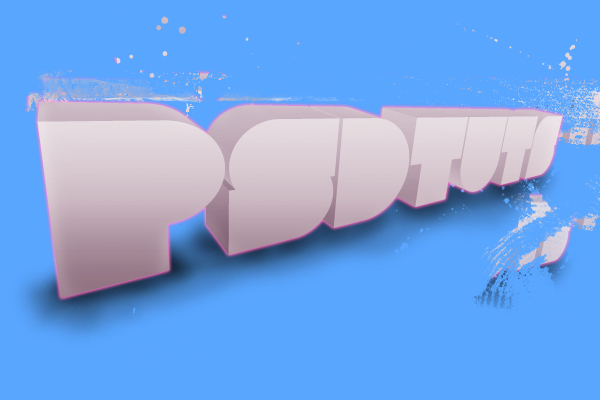
Next up, we’re going to create some smoke effect behind the text. Create a new layer below the Kaboom layer, select the Lasso tool (L) and draw up a distorted selection around the text. Feather (Ctrl+Alt+D) the selection by, say, 30px, then go to Filter › Render › Clouds. Press L to bring up the Levels window and play with the Red, Green and Blue levels until you get an orange color with strokes of reddish orange here and there. Set the layer style to Pin Light, duplicate the layer, Transform it (Ctrl+T) and flip it horizontally. Duplicate the layer again and set its Blending mode to Hue.

Step 5
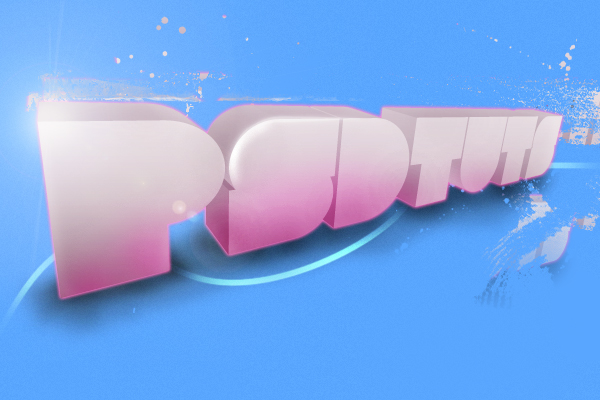
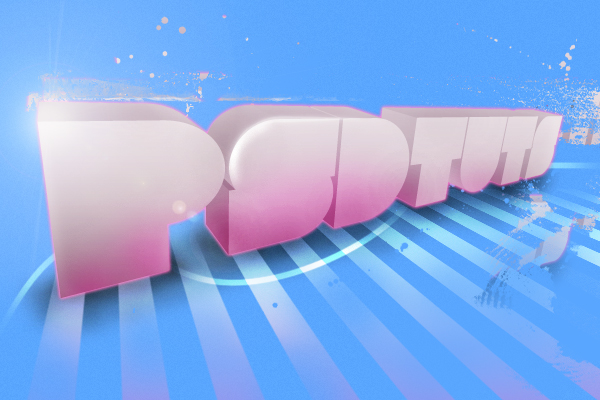
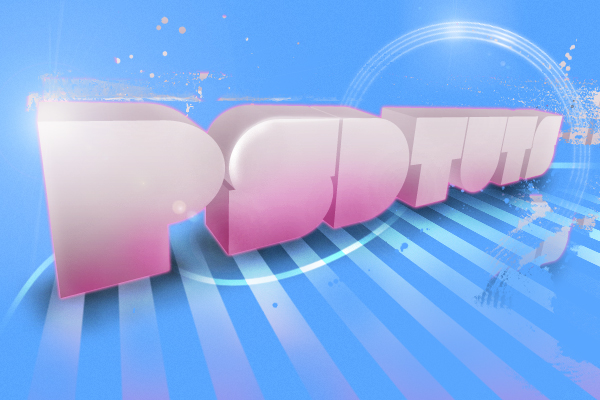
Some more smoke and light effects. Grab the lasso tool again and draw a selection in the same way you did on Step 4, except this time draw it in a more “circular” shape (meaning not so spread horizontally). If this explanation fails to do it, just take a look at the image below
 Feather the selection again by 30-40px and fill it up with clouds (Filter &rsaquo Render › Clouds). Set the Blending Mode to Color Dodge, now duplicate that layer and set its blending to Hue. Create a new Levels Adjustment Layer
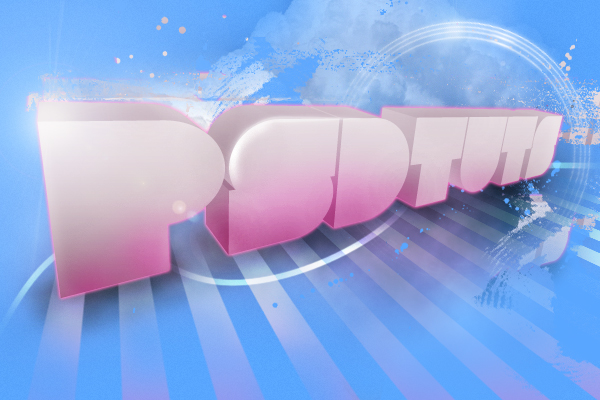
 above the last layer we just made and press Ctrl + Alt + G to group it with the layer below. This gives the effects created with the adjustment layer only to the grouped layer. Set it as you see below:


1 2 3 4
var myslide=new ddtabcontent("imgslide");myslide.setpersist(true);myslide.setselectedClassTarget("link");myslide.init();
Now you should have the following result, or similar:

Step 6
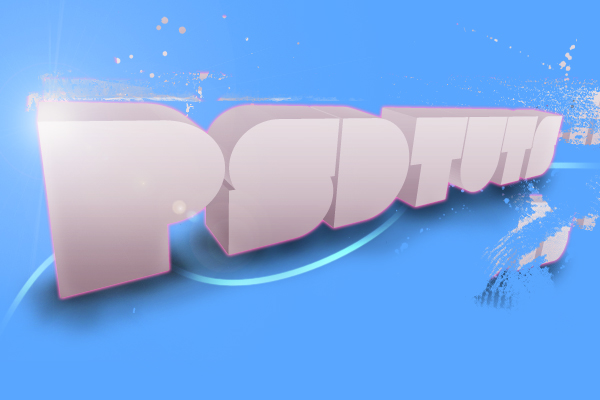
Next we will add motion effect to the text. Duplicate the Kaboom layer, go to Filter › Blur › Radial Blur - Amount: 10, Blur Method: Zoom, Quality: Best. Apply a circular gradient layer mask, then set Blending Mode to Overlay. Duplicate the Kaboom layer again, apply a Radial Blur as follows: Amount: 40, Blur Method: Zoom, Quality: Best, give it the same type of mask as above and set the Blending Mode to Overlay. Press Ctrl + L to play with the Levels and give it a bit of a golden color. Duplicate the Kaboom layer one last time, apply a Radial Blur of 80, same other settings as above, bring up the Layers window (Ctrl + L) and give it an orange type of color. Move this layer below the Kaboom layer.

Step 7
Let’s add one more light burst effect. Create a new layer, grab the Lasso tool and draw a selection with an irregular shape. Feather the selection (Ctrl+Alt+D) with about 20px, then press Ctrl + L and give your shape a red-ish color (view the images below for details). Give it a Radial Blur of about 80, Blur Method: Zoom, Quality: Best. Duplicate this layer and press Ctrl + T to transform it, scale it to about 70% then modify the Levels (Ctrl + L) to give it a light orange color. Duplicate this layer once.


1 2 3 4
var myslide2=new ddtabcontent("imgslide2");myslide2.setpersist(true);myslide2.setselectedClassTarget("link");myslide2.init();
Step 8
Time for some more light effects. Create a new layer. Select the Pen tool (P), make sure you have the Paths mode selected and draw a wavy shape like in the image below. Select the Brush tool and set it like shown below.


1 2 3 4 5
var myslide3=new ddtabcontent("imgslide3");myslide3.setpersist(true);myslide3.setselectedClassTarget("link");myslide3.init();
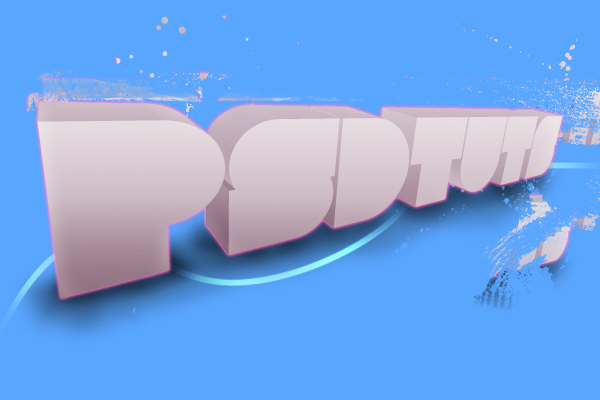
Select the Pen again, right-click and select “Stroke Path”, then select Brush from the drop-down menu and make sure you have “Simulate Pressure” checked, then click OK. You should now have something that looks similar to the swirl in the image below. Give it a Color Overlay of #ffdf72, then select and erase the areas shown below to give the swirl a 3D effect, as if it would revolve around the text. Add a Mask to this layer, select the Gradient tool with a linear gradient and use it on the mask so that the swirl is transparent in the middle and opaque on the edge. Duplicate this layer and using the Gradient tool draw the same type of gradient, but in such a way so that the swirl is still transparent in the middle, but opaque on the opposite edge.

Create new layer, grab the Brush tool and set it pretty much the same as above, except that you should use a larger size brush, say 10-15 and Scattering should be about 600%. Use the brush a couple of times until you get an effect like the one below.

Step 9
And for our final step, we’ll add some texture. I got my texture from sxc.hu but you don’t have to use the same one, you can use any texture you think would work. Select the Kaboom layer, paster your texture in the document, scale it down a bit so that the texture details are sharp, set the layer blending mode to Multiply.

Holding Ctrl click on the thumbnail of the Kaboom layer to create a selection after its shape, then click the Add Layer Mask button to do just that, add a layer mask in the shape of the text. This ensures the fact that our texture does not flow outside the boundaries of the text.

And there you have it: exploding text.
I hope you enjoyed it at least as much as I did making it. If you’ve got any thoughts, comments or critiques please do leave a comment - I love to hear from you.
If you happen to have an idea for one of my next tutorials, don’t be shy, let me know and if it’s interesting enough I will try to make it happen for you.
Step 1
Create new document (Ctrl+N), any size (I used 900x600), then fill up the layer with #000000. Name this layer “Background”. Create new layer (Ctrl+Shift+N) and fill it with #090e12. Name the layer “Bg Light” and add a layer mask to it. With the mask selected, grab the Gradient (G) tool, set it to Radial Gradient, press D to reset the foreground and background colors to default and drag the Gradient tool from the center of the document towards the edge to get a circular light effect.

Step 2
Time to create some fog/smoke. Create a new empty layer, name it “Smoke”. Make sure you’ve got the default colors on (press D), go to Filter › Render › Clouds. Set the blending mode to Soft Light.

Step 3
Time to insert our 3DS Max rendered text. Unfortunately how to achieve the text effects in 3DS Max is not the object of this tutorial, so you must know your way around it before you actually start this tutorial. Basic directions would be to create the text letter by letter, arranging each one in a different position as if they’d be blown away. Give it a Bevel modifier, set up the lighting and an optional camera for rendering angles. Set up the materials so that the text reflects the environment to give it that cool shiny effect. Render it at 1600×1200 or more so that it will be easier to cut out the background in Photoshop without any weird edges.
Anyway, we’ll be creating everything else in relation to this text so after you cut out the background, paste it in your document and adjust its size accordingly. Let’s name this layer “Kaboom” and set its Blending Mode to Luminosity for later on.

Step 4
Next up, we’re going to create some smoke effect behind the text. Create a new layer below the Kaboom layer, select the Lasso tool (L) and draw up a distorted selection around the text. Feather (Ctrl+Alt+D) the selection by, say, 30px, then go to Filter › Render › Clouds. Press L to bring up the Levels window and play with the Red, Green and Blue levels until you get an orange color with strokes of reddish orange here and there. Set the layer style to Pin Light, duplicate the layer, Transform it (Ctrl+T) and flip it horizontally. Duplicate the layer again and set its Blending mode to Hue.

Step 5
Some more smoke and light effects. Grab the lasso tool again and draw a selection in the same way you did on Step 4, except this time draw it in a more “circular” shape (meaning not so spread horizontally). If this explanation fails to do it, just take a look at the image below


1 2 3 4
var myslide=new ddtabcontent("imgslide");myslide.setpersist(true);myslide.setselectedClassTarget("link");myslide.init();
Now you should have the following result, or similar:

Step 6
Next we will add motion effect to the text. Duplicate the Kaboom layer, go to Filter › Blur › Radial Blur - Amount: 10, Blur Method: Zoom, Quality: Best. Apply a circular gradient layer mask, then set Blending Mode to Overlay. Duplicate the Kaboom layer again, apply a Radial Blur as follows: Amount: 40, Blur Method: Zoom, Quality: Best, give it the same type of mask as above and set the Blending Mode to Overlay. Press Ctrl + L to play with the Levels and give it a bit of a golden color. Duplicate the Kaboom layer one last time, apply a Radial Blur of 80, same other settings as above, bring up the Layers window (Ctrl + L) and give it an orange type of color. Move this layer below the Kaboom layer.

Step 7
Let’s add one more light burst effect. Create a new layer, grab the Lasso tool and draw a selection with an irregular shape. Feather the selection (Ctrl+Alt+D) with about 20px, then press Ctrl + L and give your shape a red-ish color (view the images below for details). Give it a Radial Blur of about 80, Blur Method: Zoom, Quality: Best. Duplicate this layer and press Ctrl + T to transform it, scale it to about 70% then modify the Levels (Ctrl + L) to give it a light orange color. Duplicate this layer once.


1 2 3 4
var myslide2=new ddtabcontent("imgslide2");myslide2.setpersist(true);myslide2.setselectedClassTarget("link");myslide2.init();
Step 8
Time for some more light effects. Create a new layer. Select the Pen tool (P), make sure you have the Paths mode selected and draw a wavy shape like in the image below. Select the Brush tool and set it like shown below.


1 2 3 4 5
var myslide3=new ddtabcontent("imgslide3");myslide3.setpersist(true);myslide3.setselectedClassTarget("link");myslide3.init();
Select the Pen again, right-click and select “Stroke Path”, then select Brush from the drop-down menu and make sure you have “Simulate Pressure” checked, then click OK. You should now have something that looks similar to the swirl in the image below. Give it a Color Overlay of #ffdf72, then select and erase the areas shown below to give the swirl a 3D effect, as if it would revolve around the text. Add a Mask to this layer, select the Gradient tool with a linear gradient and use it on the mask so that the swirl is transparent in the middle and opaque on the edge. Duplicate this layer and using the Gradient tool draw the same type of gradient, but in such a way so that the swirl is still transparent in the middle, but opaque on the opposite edge.

Create new layer, grab the Brush tool and set it pretty much the same as above, except that you should use a larger size brush, say 10-15 and Scattering should be about 600%. Use the brush a couple of times until you get an effect like the one below.

Step 9
And for our final step, we’ll add some texture. I got my texture from sxc.hu but you don’t have to use the same one, you can use any texture you think would work. Select the Kaboom layer, paster your texture in the document, scale it down a bit so that the texture details are sharp, set the layer blending mode to Multiply.

Holding Ctrl click on the thumbnail of the Kaboom layer to create a selection after its shape, then click the Add Layer Mask button to do just that, add a layer mask in the shape of the text. This ensures the fact that our texture does not flow outside the boundaries of the text.

And there you have it: exploding text.


")
 Kattiyata denaganna ne danne